1. Instead of doing the ruler method of measuring your triangles and cutting, then moving it again, making sure it is lined up correctly, I used one of these nifty things. It made my cutting life a lot easier.

2. Since using the cutter instead of a ruler, the triangles were cut with a little "dog ear" (see below). And to sew them, you need to line them up like so...

3. I'm sure the tutorial did this, but I'll just stress it even more. PIN EVERYTHING! There were a few times when I first started that I didn't feel like pinning. BIG mistake. Because you are sewing on the bias, your fabric will move leaps and bounds. What is the bias you ask? If you take a piece of fabric and pull it both ways the fabric is going, you won't get it to stretch very easily. But pull it diagonally, and it will move quite a bit. And because you are cutting on the bias to make the triangles, you will need to starch everything. If you do not starch, your fabric will move and you won't have a perfectly straight triangle.
4. I did add batting to my quilts. The first large quilt I made, I just used a single layer of regular batting. But for Eloise's little quilt, I used a double layer of very fluffy batting, to give it some cushion.
5. When quilting my top, batting, and back pieces together, I didn't just sew along the straight edges. I would recommend steering away from that and going all directions. The reason is because you aren't sewing down the bias pieces, and it can still move and stretch into funky shapes. My first quilt, I just sewed down one side of each triangle seam.


6. Lastly, I cut my binding on the bias. Here is a really good video explaining how to do that.
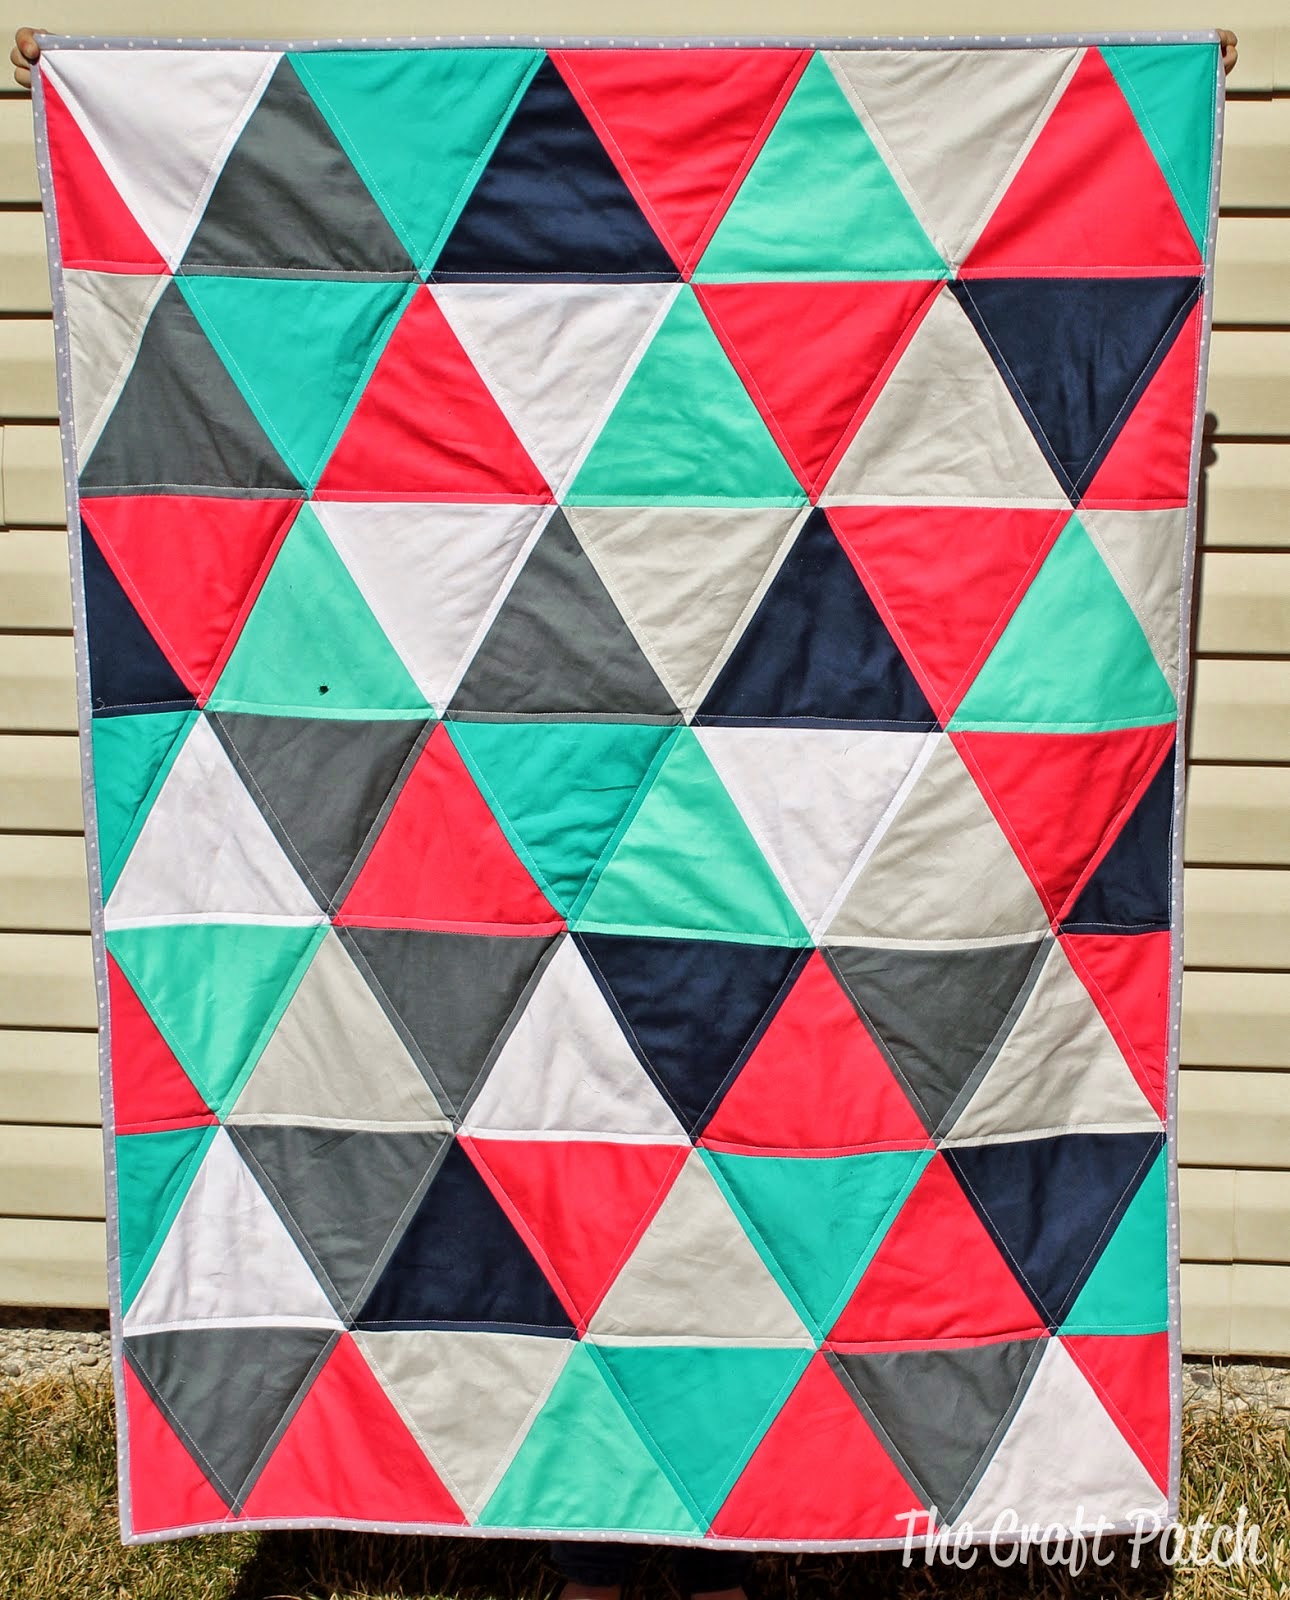
Other than those 6 points, everything else is pretty dead on with what the above tutorial did. And because I am 2 loads of laundry behind and have a few orders to work on for Wire on a Whim (check me out!!), and I didn't get pictures of every step, I decided to just lead you to her tutorial. And just for fun, here are a bunch of pictures of triangle quilts to give you some inspiration! I think the next one I make is going to be a pink, cream, and black one. Or maybe a purple and blue one...Nah. definitely an ombre teal quilt. Enjoy :)